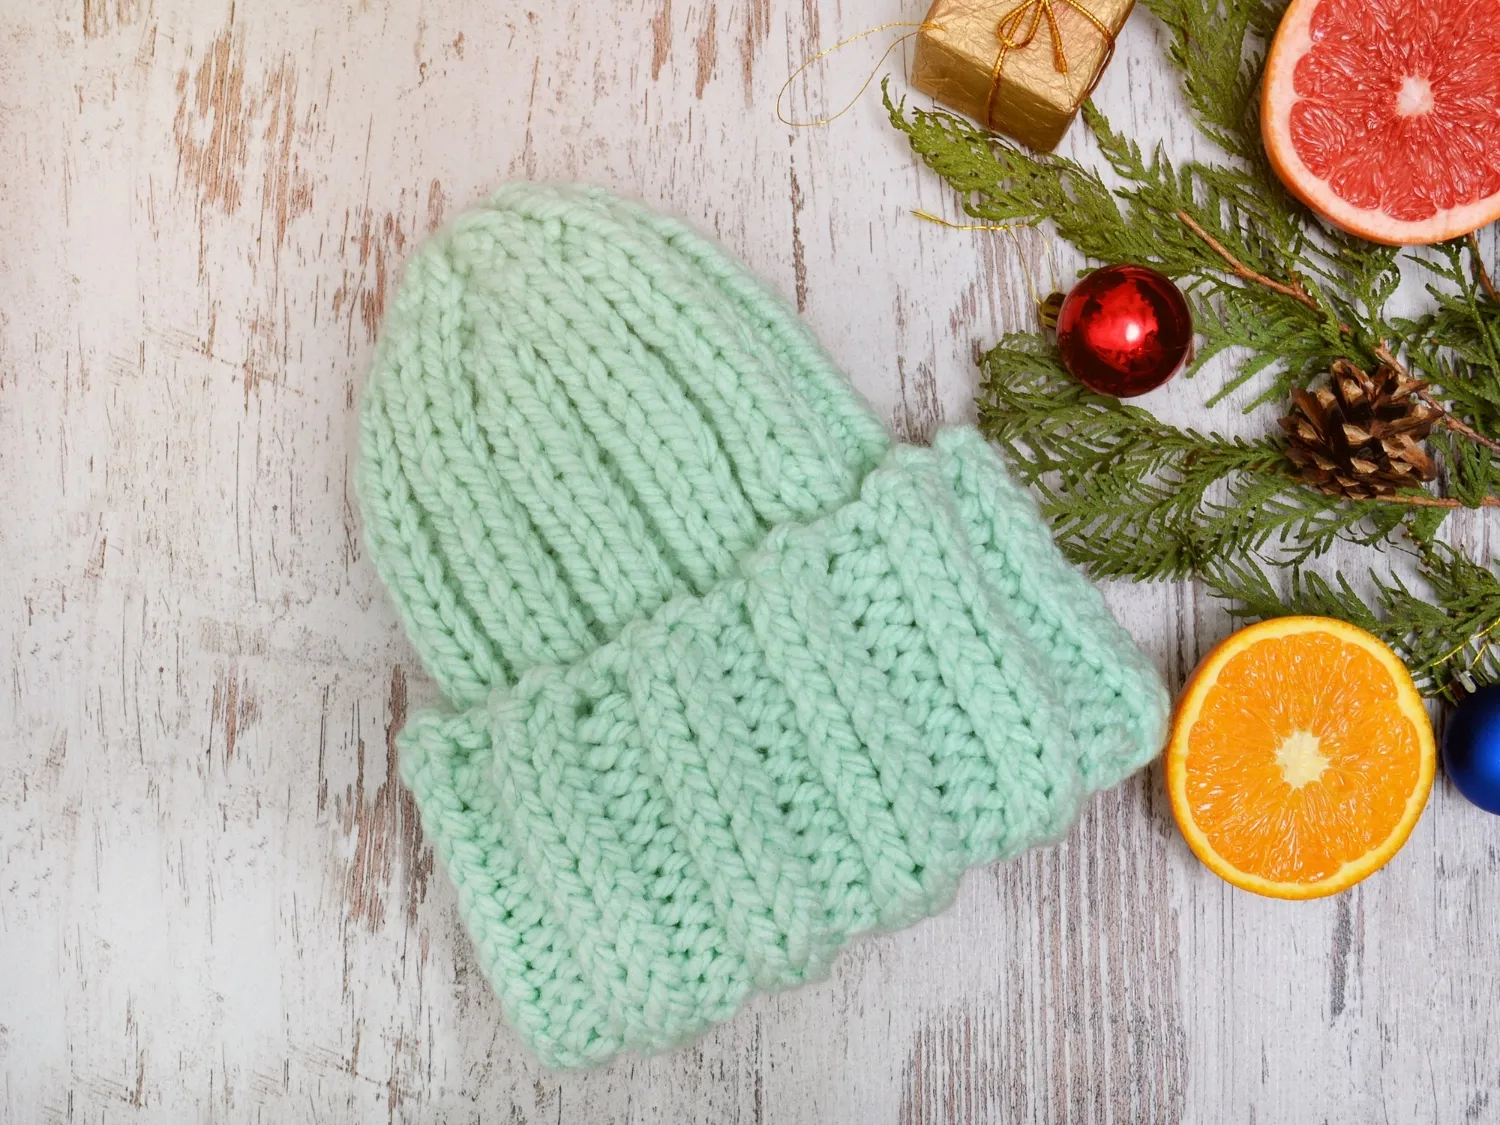
How to Crochet a Beanie Hat for Beginners
There’s arguably no cuter head accessory for the winter than a crochet beanie. Making it yourself just adds charm to this essential winter fashion statement.
Now, if you’re new to crocheting, you might be worried about pulling this off. But there’s no need. A beanie hat is relatively easy to crochet. Grab some yarn and learn a few basic stitches, and you’ll create a cozy accessory to keep you warm during the winter months.
Keep reading to learn how to crochet a beanie step by step.

What to Do Before Starting
You must take care of a few things before starting your crochet pattern.
Choose the Yarn
Sure, you can use any type of yarn for a classic beanie. But as a beginner, you might benefit from choosing a more elastic material. Anything too stiff, fluffy, or thick will be more challenging to manipulate.
Select the Crochet Hook
Once you choose your yarn size, it’s time to do the same with your hook. Beginners will have it the easiest with a size H aluminum hook (H/8) and 4-ply worsted-weight yarn.
Determine Your Beanie’s Size
Of course, this step depends on the intended recipient. If you can, take a head measurement to ensure an exact fit. If not, these sizes should give you a general idea of how big or small to go:
- Newborn baby: 14 inches in circumference, 6 inches in height
- Toddler: 19 inches in circumference, 8 inches in height
- Child: 20 inches in circumference, 8.5 inches in height
- Teen: 21 inches in circumference, 10 inches in height
- Adult: 22-24 inches in circumference, 11-11.5 inches in height

A Beginner-Friendly Step-by-Step Guide on How to Crochet a Beanie
After grabbing your yarn, hook, and a pair of scissors, you can get down to business. First things first, make sure to hold your hook right – either as a knife or as a pencil. Then, follow these steps to crochet a beautiful beanie.
1. Start the Crochet Pattern
When learning how to crochet a beanie, the first step is to make your base chain. To do so, you must tie a slipknot, effectively starting your pattern. Here’s how to do this:
- Hold the yarn, keeping the tail end in your palm.
- Loop it over the top of your index finger and pass it under your middle finger.
- Bring the yarn back over your index finger, behind the initial loop.
- Draw a loop from the yarn’s center and thread it through the large loop formed around your fingers.
- Place the resulting, smaller loop onto your crochet hook and gently pull the yarn tail to secure it.
2. Create the First Row of Stitches
Congratulations! You’ve officially started your pattern. It’s time to embark on the next step – creating the first row of stitches (the so-called “foundation chain”).
- Grasp the tail end of your slipknot and slide the crochet hook forward, allowing some room at the end.
- Wind the yarn around the hook’s tip once.
- Draw the hook backward through the initial slipknot to create the first stitch.
- Repeat Steps 1-3 until you crochet five stitches.
- Insert your hook through the center of the first stitch.
- Join it with the end of your foundation row with a single stitch.
3. Mark Your Crochet Starting Point
After you’ve successfully built a foundation, it’s time to move to the “actual” crocheting. But before you do so, you’ll benefit from marking your crochet starting point with a piece of string or a bobby pin. This way, you’ll never lose count of your stitches.
4. Crochet a Small Circle
To make a beanie hat, you must crochet in the round. This means you need to crochet a little circle by working your first row of stitches into the center of the ring. Continue working in a spiral until a small circle forms.

5. Crochet the Second Row
To crochet the second row, you’ll have to switch to double stitches. Here’s how to pull them off:
- Begin with a single loop on your crochet hook.
- Insert the hook through the loop and directly into the chain attached to the spiral, forming two loops.
- Wrap the yarn over your hook and pull it through the two loops.
6. Increase the Body of the Beanie
Now, you’ll have to switch it up a little to ensure your beanie grows in size. To do so, start with a double stitch for every new row of stitches. Then, alternate with single stitches until you complete the row. Repeat this until you reach your seventh row.
Are you unsure how to count your stitches? No problem! Just keep this in mind – a single stitch counts for one stitch, while a double counts for two. Since you started with a row of five, keep the count going. In other words, it only takes two double and one single stitch to complete the row. This means you should reach the seventh row after 90 stitches.
7. Complete Your Beanie
After reaching the seventh row, switch to single stitches exclusively to add length to your beanie. Once you reach the desired circumference, tie a slipknot and weave the yarn’s tail end back into the hat to hide it.
What to Do if You Can't Master Crocheting
After following this guide on how to crochet a beanie, you should be able to make an adorable hat for yourself or your loved one. But it’s also perfectly understandable if you fail. After all, crocheting is a skill that takes lots of practice and patience.
If you lack time or patience (or simply want a crochet beanie hassle-free!), we’ve got just the solution. Order your beanie from Custom Beanies Now and spare yourself any trouble. Plus, not to underestimate your crocheting skills, but a custom-made beanie will probably be much more intricate than a hand-made beanie could ever be. Choose your perfect beanie design to get started.